


Pantera Replica -89
Spec at time of purchase
Total Weight: 1240kg
Engine:
Ford Cologne V6
Displacement: 2.9l
Drivetrain:
-Audi 5 speed gearbox
-steel driveshafts with CV-joints
Suspention:
Front: Granada double wichbone
Rear: Custom double wichbone
Wheels:
Front: Revolution wheels 8x15"
Rear: Revolution wheels 10x15"
Tires:
Cooling system:
Aluminum front mounted radiator
Bodywork and Chassis:
-Glass fiber body
-Steel spaceframe
Breaks:
Front: Ford granada
Rear: Ford granada
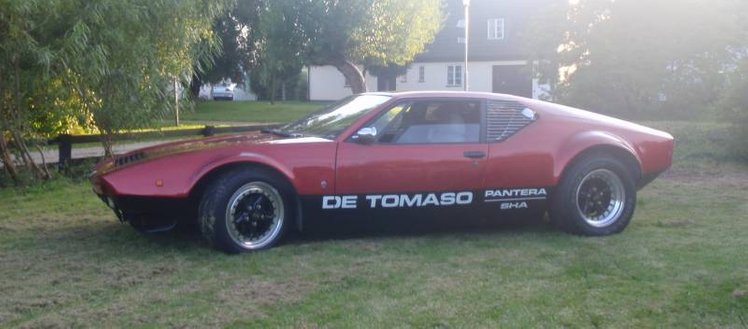
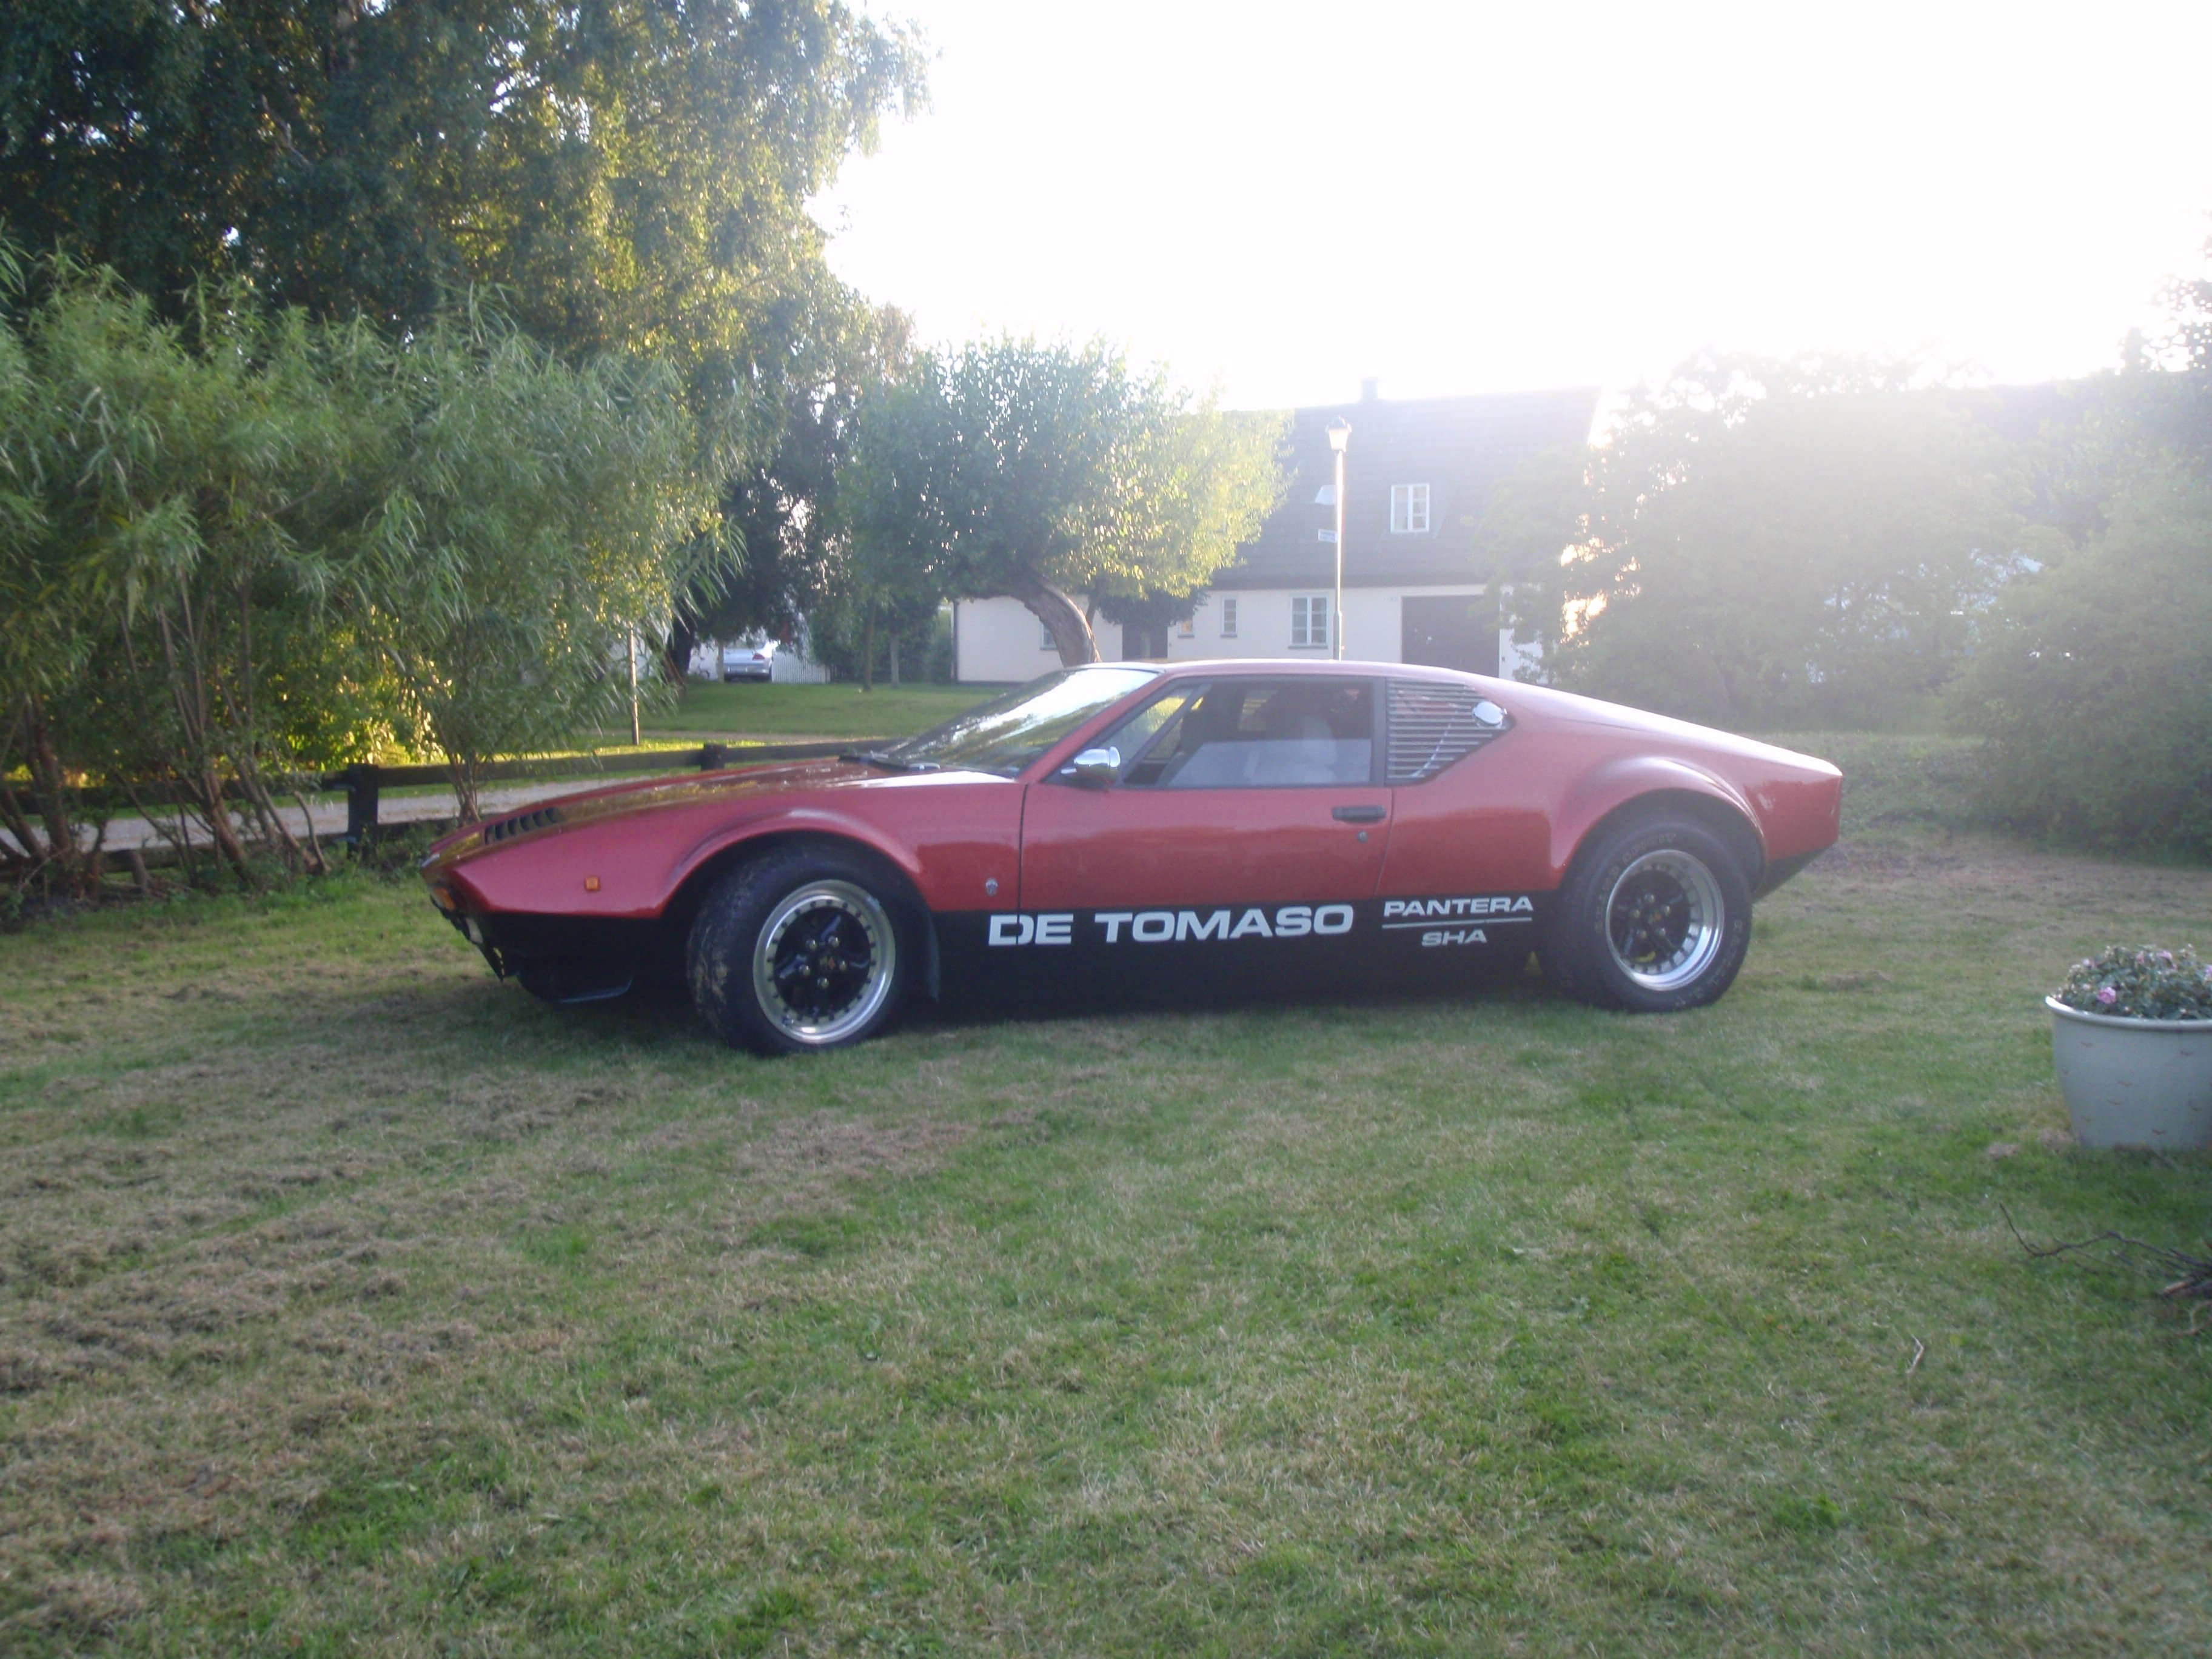
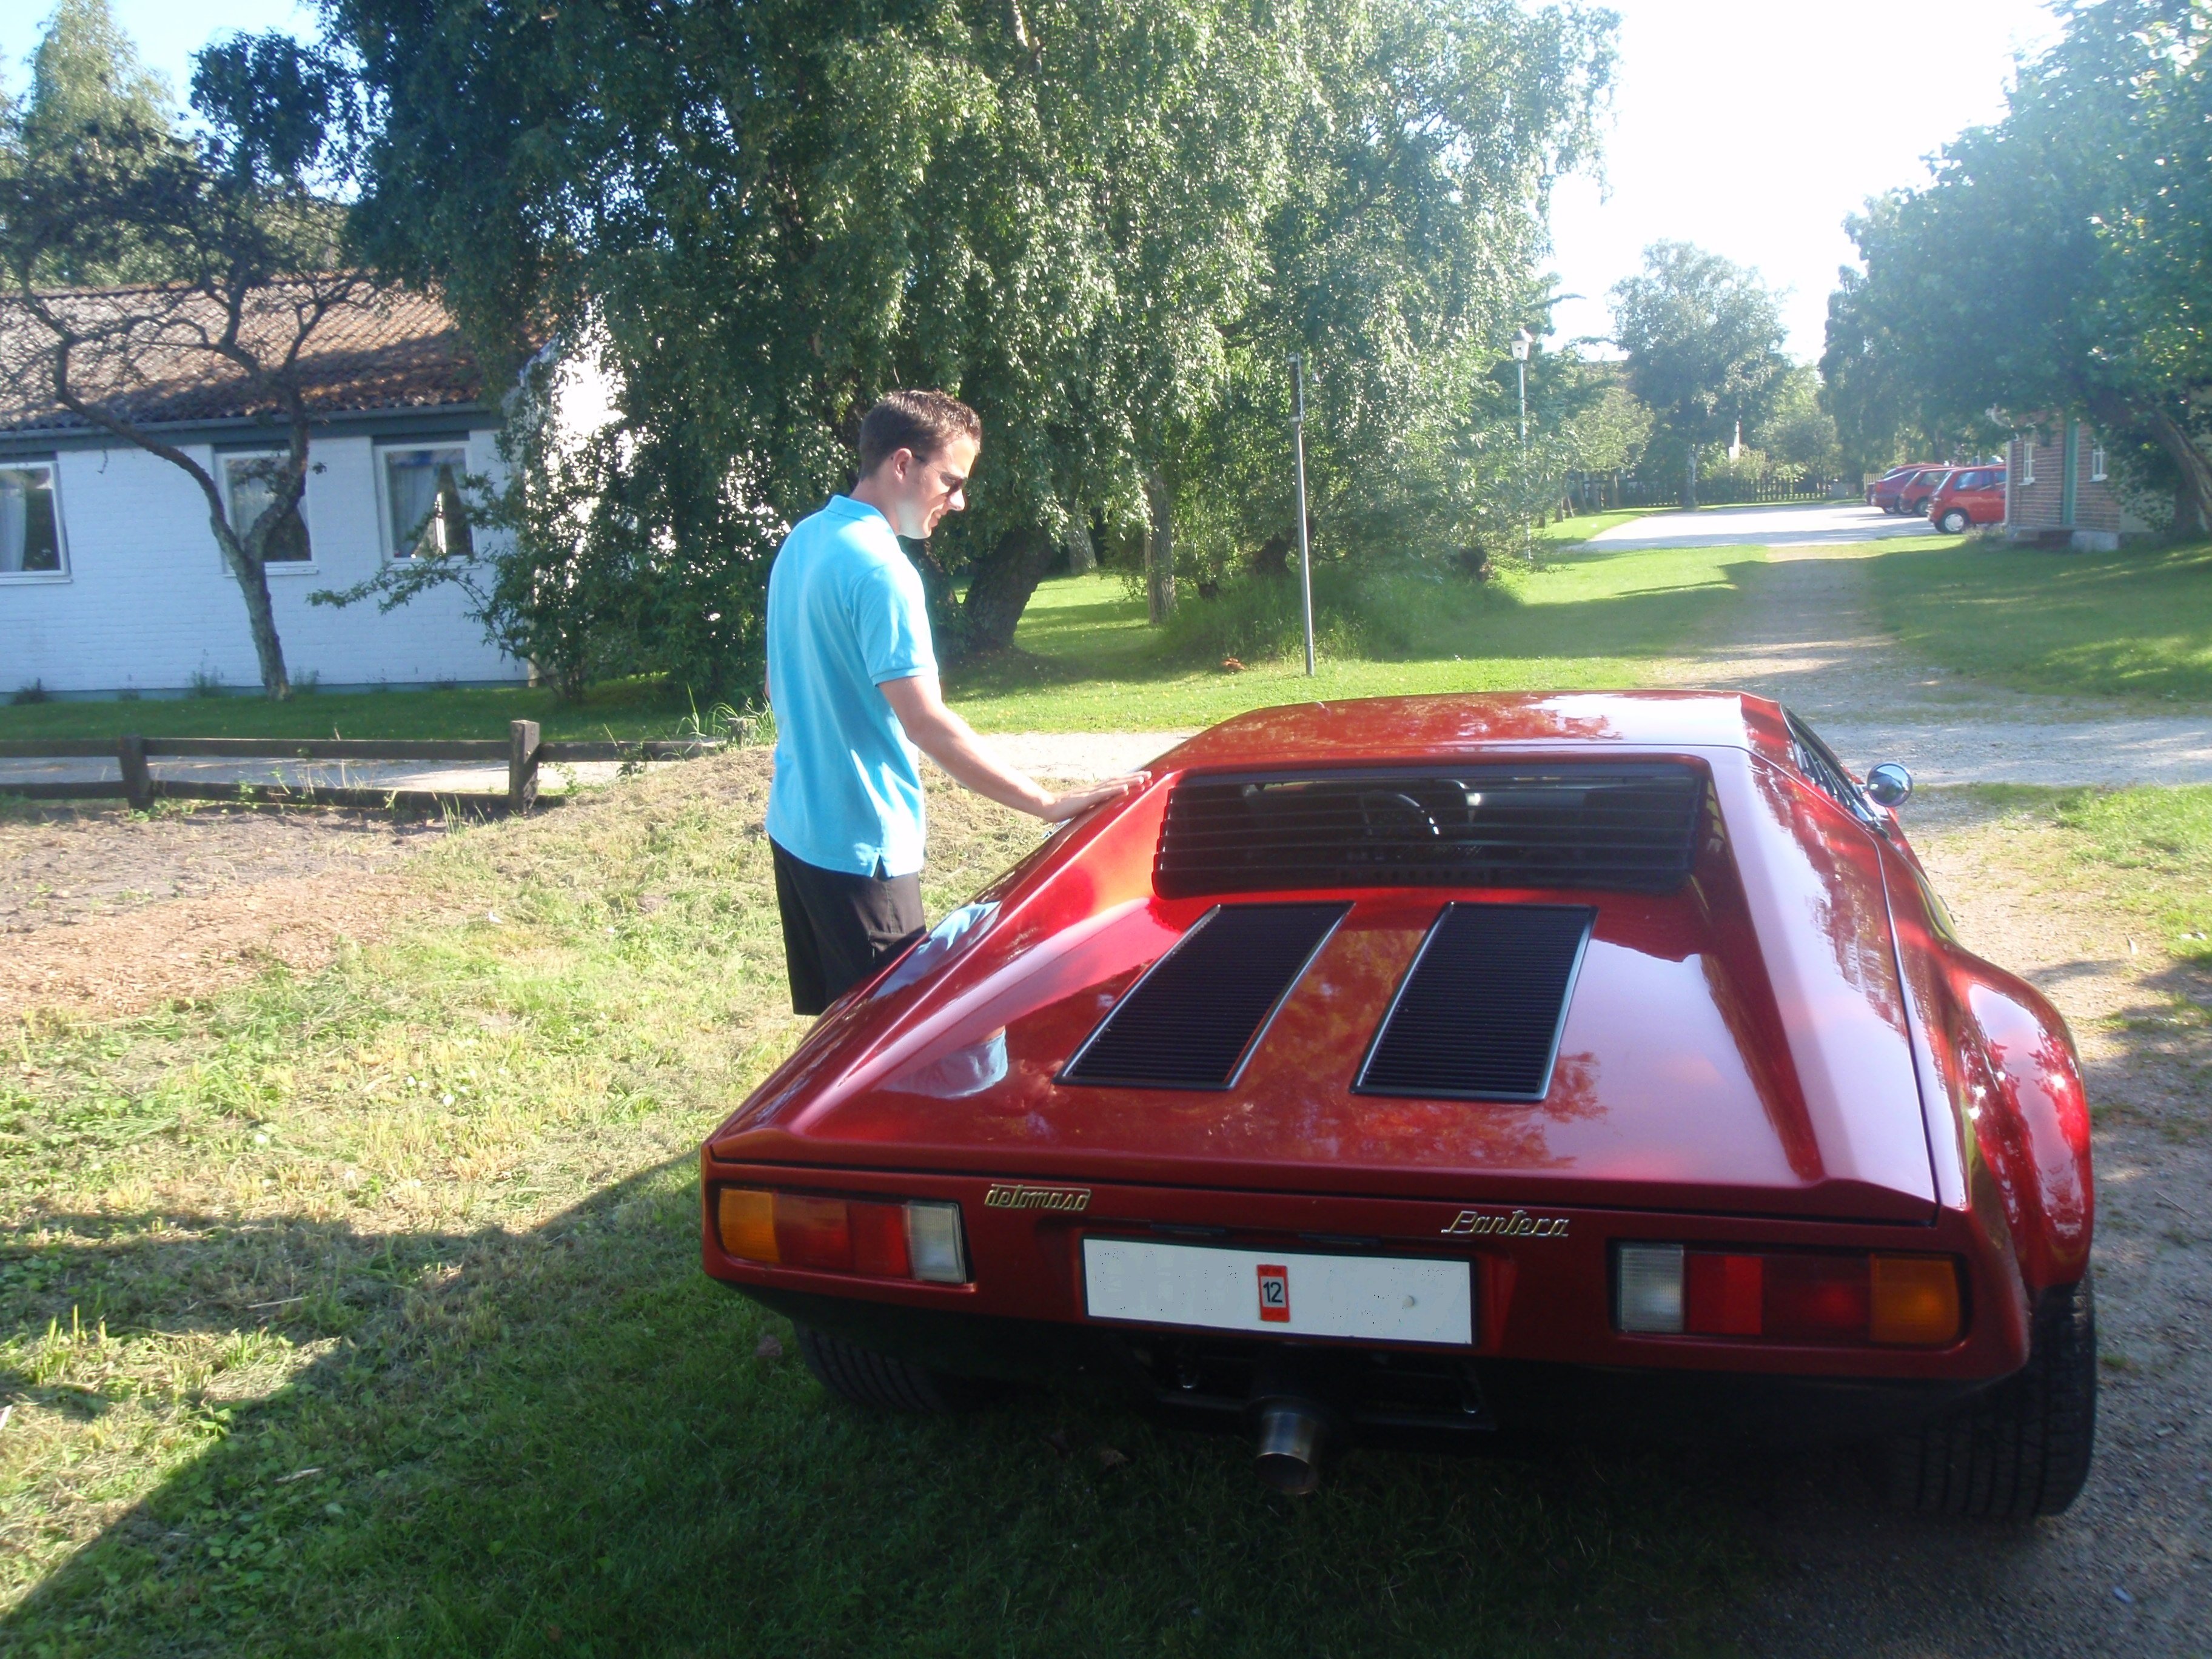
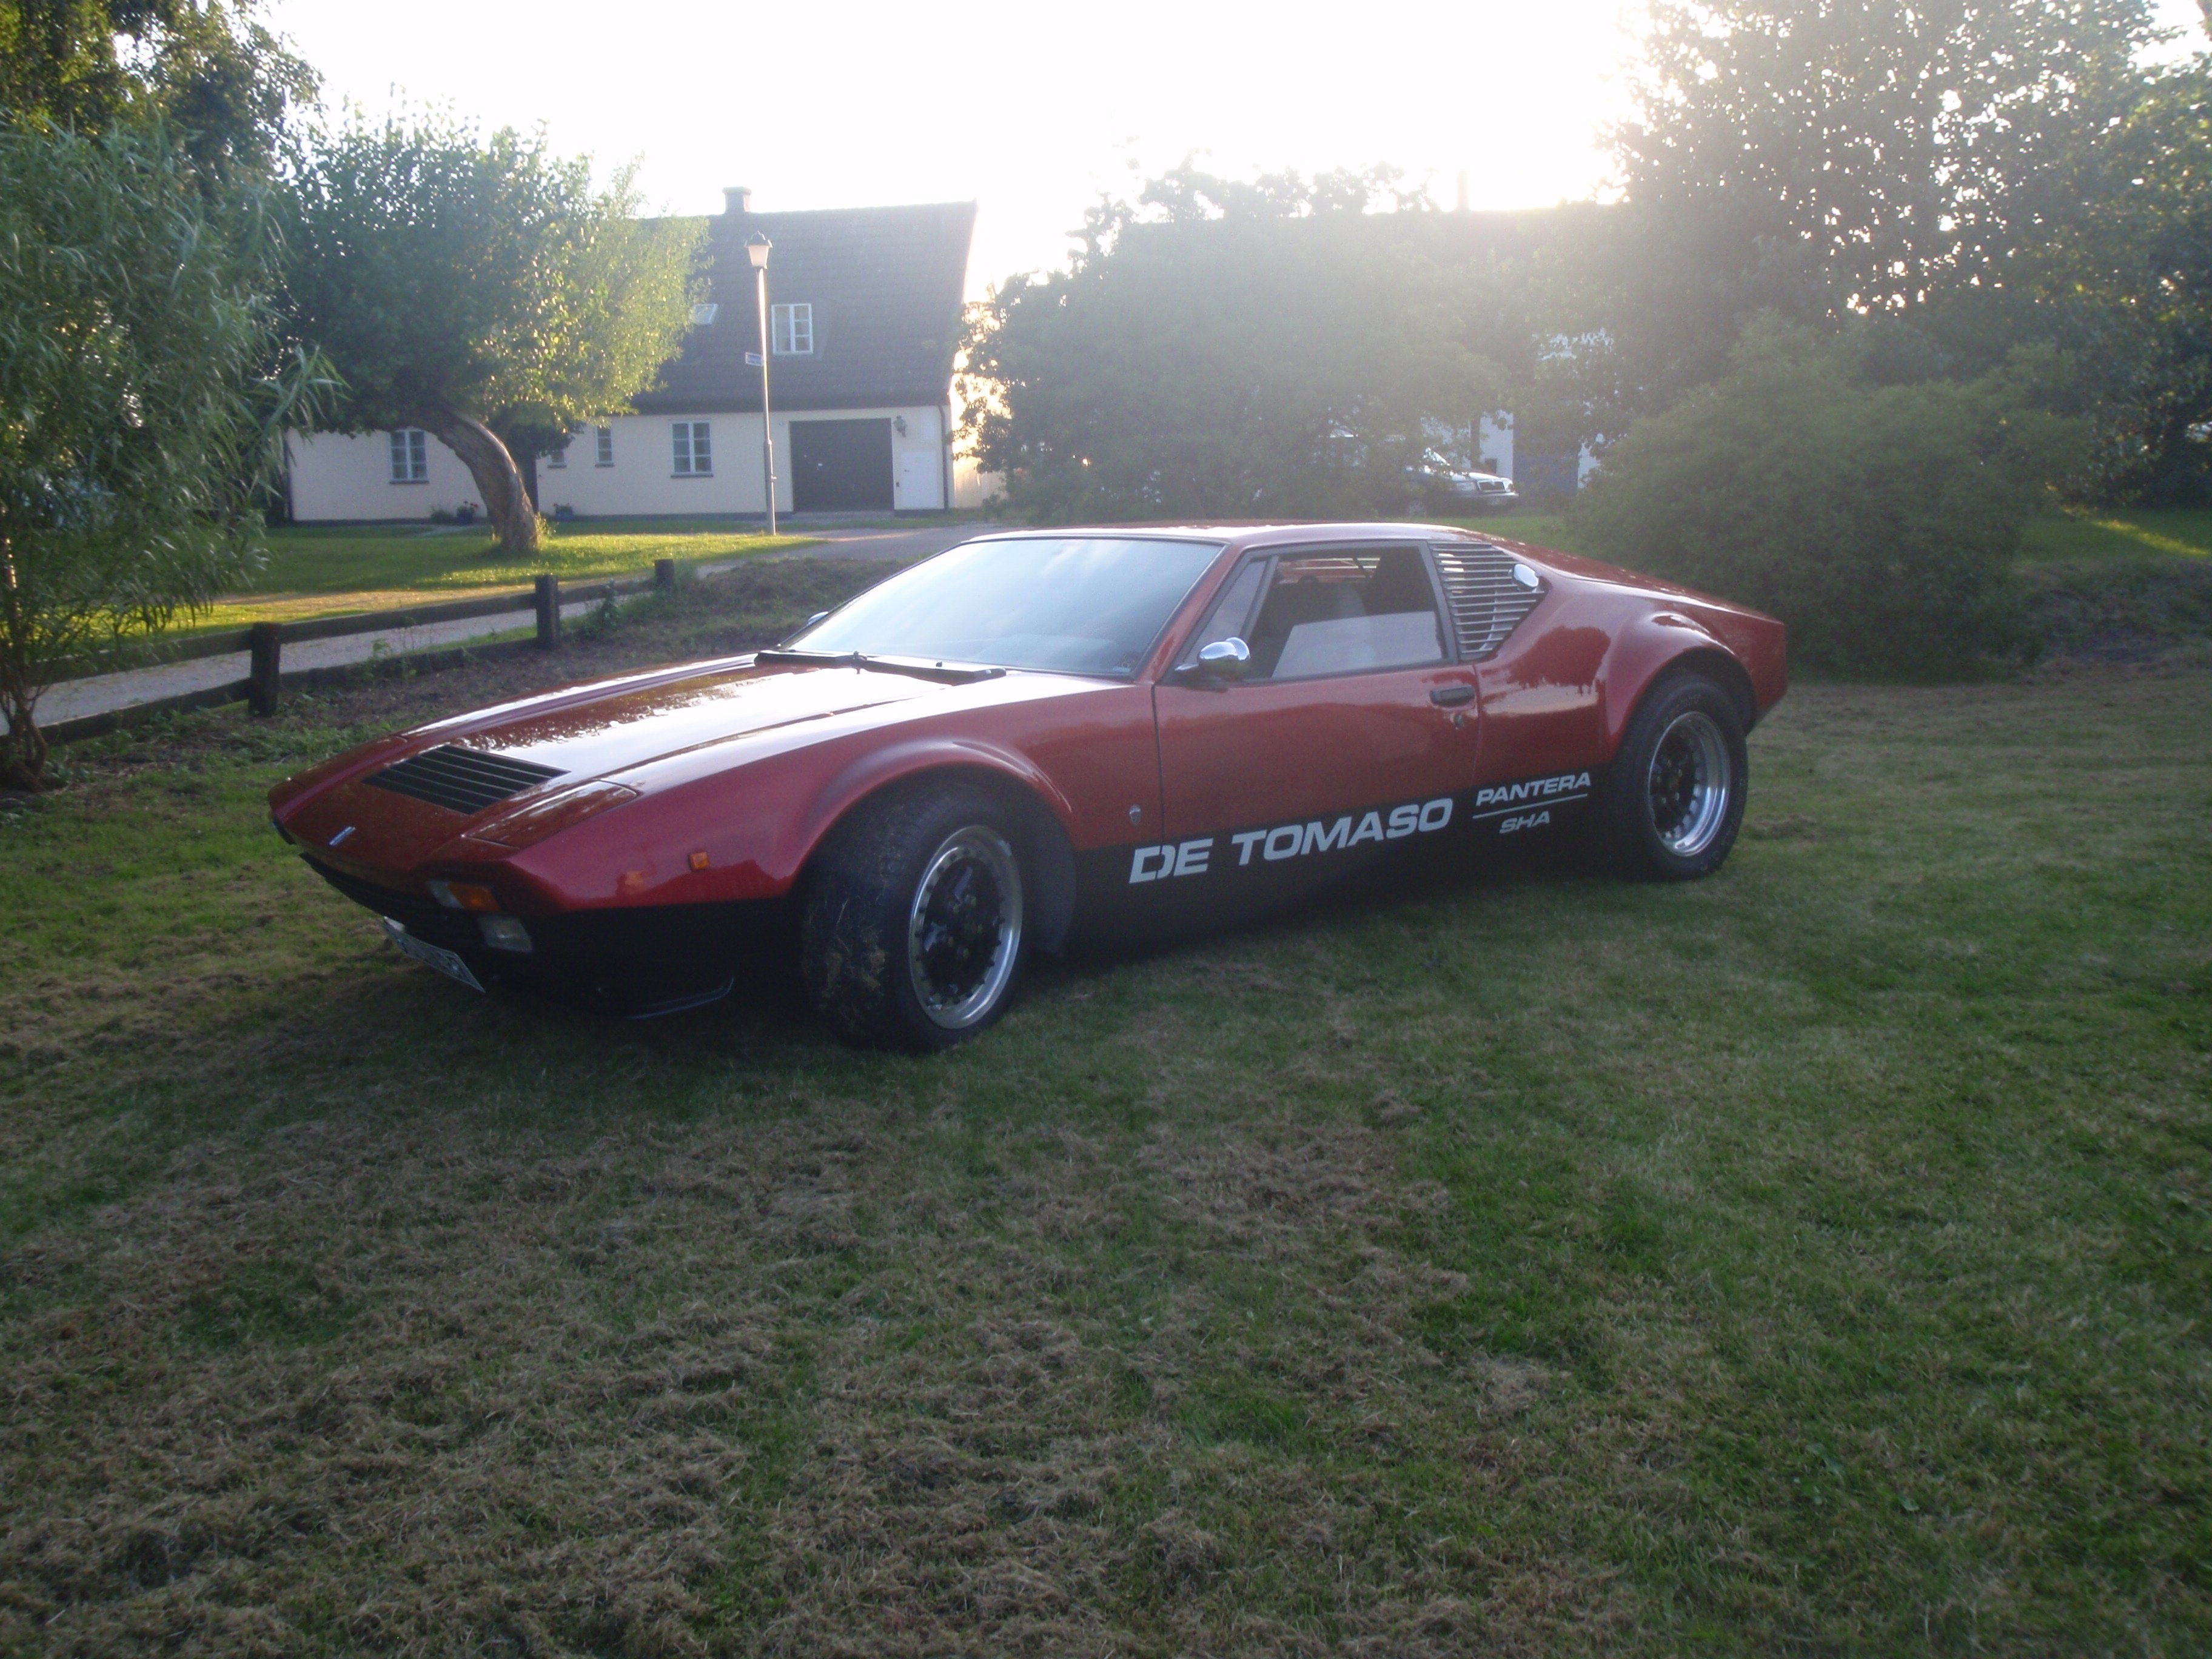
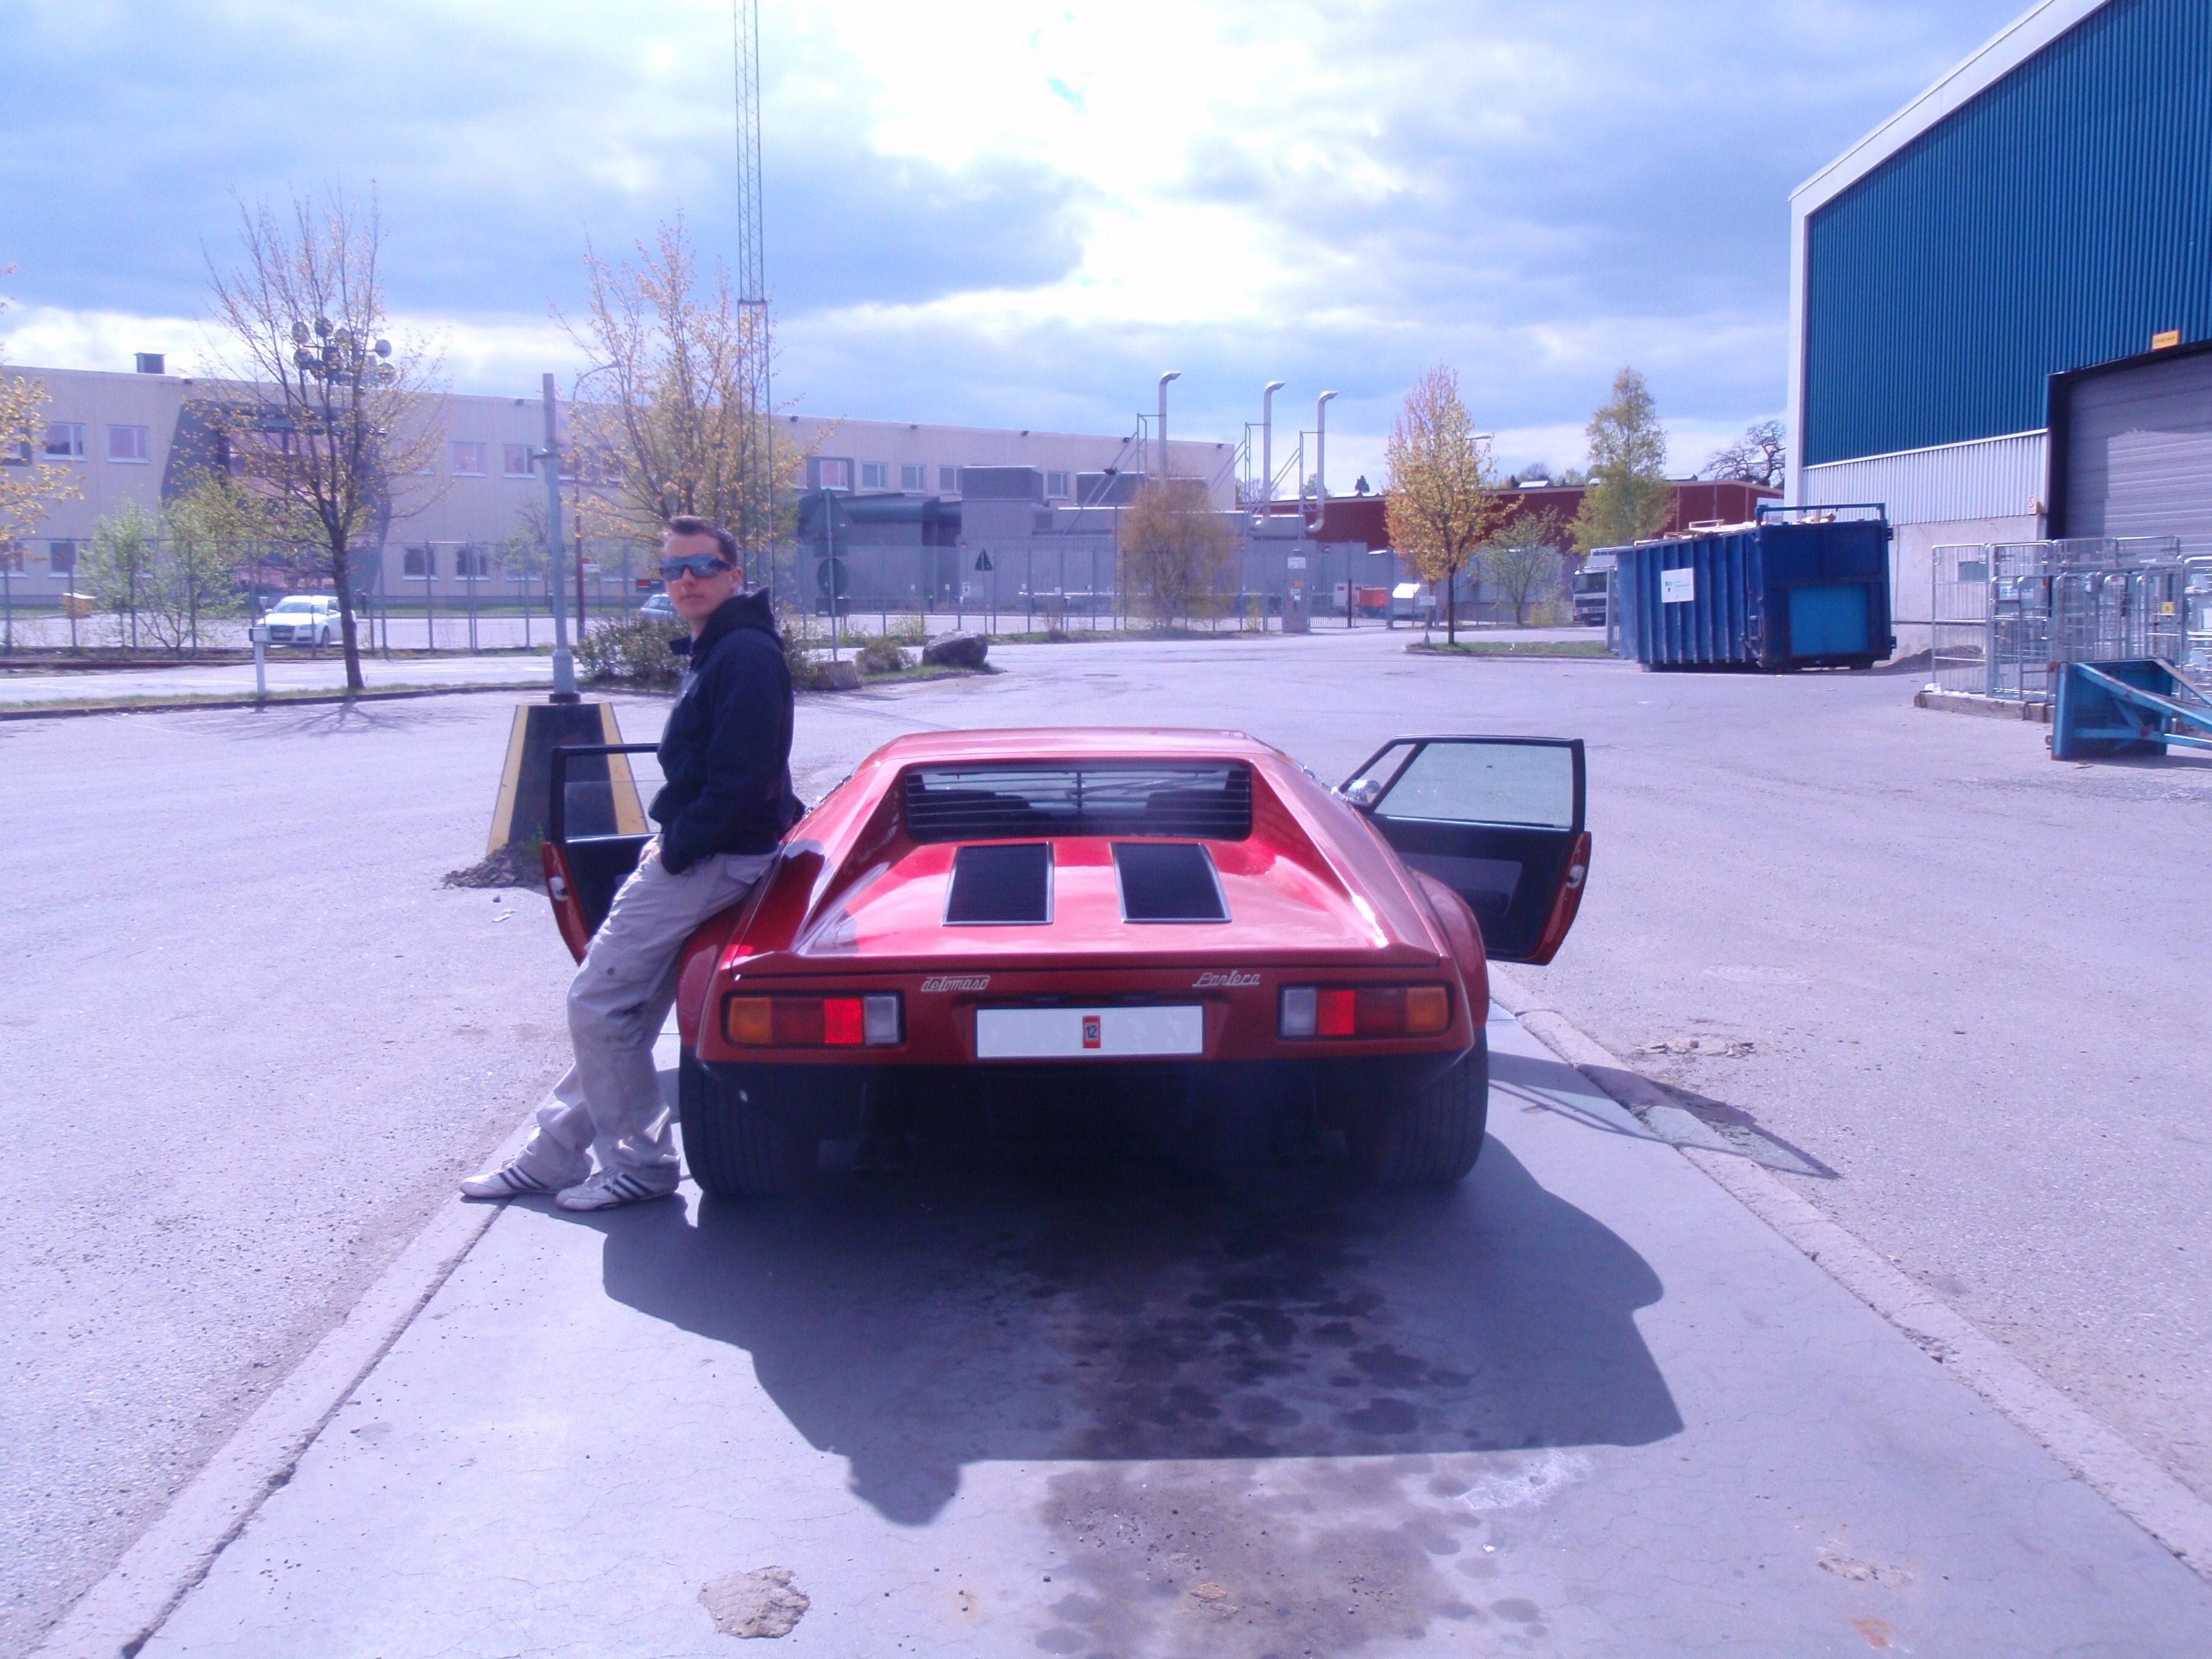
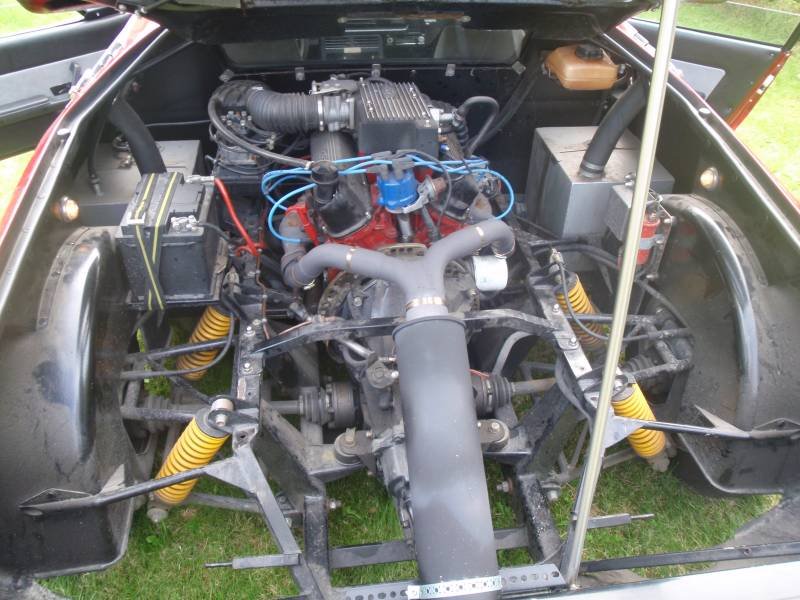
Here are some photos of the car from the first year I owned it. When I bought the car it had a Ford V6 engine that is just awful. But it served my purpose very well because I was going to get rid of the engine anyway and if the car would have had a V8 it would have been way more expensive and more sought after.
I was looking for a well built tube frame car with a nice body with a big enough engine bay to have room for the driveline I was planning to use, and it was just a coincidence that it was a Pantera replica.
The car is very well built and hard to spot that it is a replica.
When the autumn came of 2011 we started the modification of the car.


Here is the new powertrain of the car. A Mercedes M120 V12 engine and the same base engine that is used in both the race car Mercedes GT1 and the Pagani Zonda.
6,0Liter
Twin overhead cam shafts
4 valves/cylinder
400hp/600Nm stock
It is a true performance engine unlike its successor the M137. The only engine I have found so far that has larger valves/engine displacement original is the Honda F20c in the S2000 with a 9000rpm redline.
The idea was from the beginning to put in a BMW M72B54 V12 engine with M50 heads ie build a Mclaren F1 replica engine, but then I found the M120 engine...Match made in heaven =)
Transmission is a 6-speed Porsche Boxster S unit


Here is the clutch that I will use on the car.
A dual disc 5.5" Tilton alu unit rated at 680Nm.
It is on my prototype garage table =)


To minimize the length of the entire powertrain and to make the inputshaft and crankshaft mate, the bellhousing on the transmission had to be shortened.


")
")


")
Then it was time to make a new mounting plate for the Porsche transmission, so an aluminum plate in the appropriate alloy was purchased. The Aluminum alloy I chose was the 6082-T651. It is alloyed with magnesium and silicon which gives it good mechanical and welding properties as well as korrosion resistance.
At the same time as a centering plug was manufactured and fixed on the crankshaft.
Then the tip machined bolts were screwed into all the mounting holes in the block, the plate drilled in the center was centered on the plug in the crankshaft and after some well-directed blows with the rubber mallet ... the entire block bolt circle was now marked on the plate.
These were drilled and the plate tested again on the block, this time with the engine in the car (when the work of modifying the car to allow the driveline to take place was done in parallel).
The plate was then attached to the gearbox to measure how large the inner / outer diameter would be and the markings for these was made.
The plate was then centered in the millingmachine and the inside / outside diameter milled.
")
")
")
")

The plate was then put in placed on the transmission and leveled perpendicular to the input shaft and fastened by screws in preparation to be welded.
The gearbox was put on a cart and shipped of to the welder.
")
")

")
The transmission back from the welder. This is one of the few things I have not done myself on this project.


The new complete powertrain of the car.


")


")
")
")
")
Now that the powertrain was assembled it was time to make room for it in the car.
We really had to get creative and push everything to it's limit. For example we have the half shafts in theirs maximum recomended angle of 7degrees towards the back of the car. We had to cut out a large hole in the firewall to make room for the front of the heads. A new fire wall which protrudes more into the cars interior have to be fabricated. Several braces and the old gearbox supports had to be cut and still we did not have enough room for the gearbox.
We lifted in only the gearbox again and marked what needed to be cut out.
Finally the powertrain fitted in the car with only milimeters to spare.
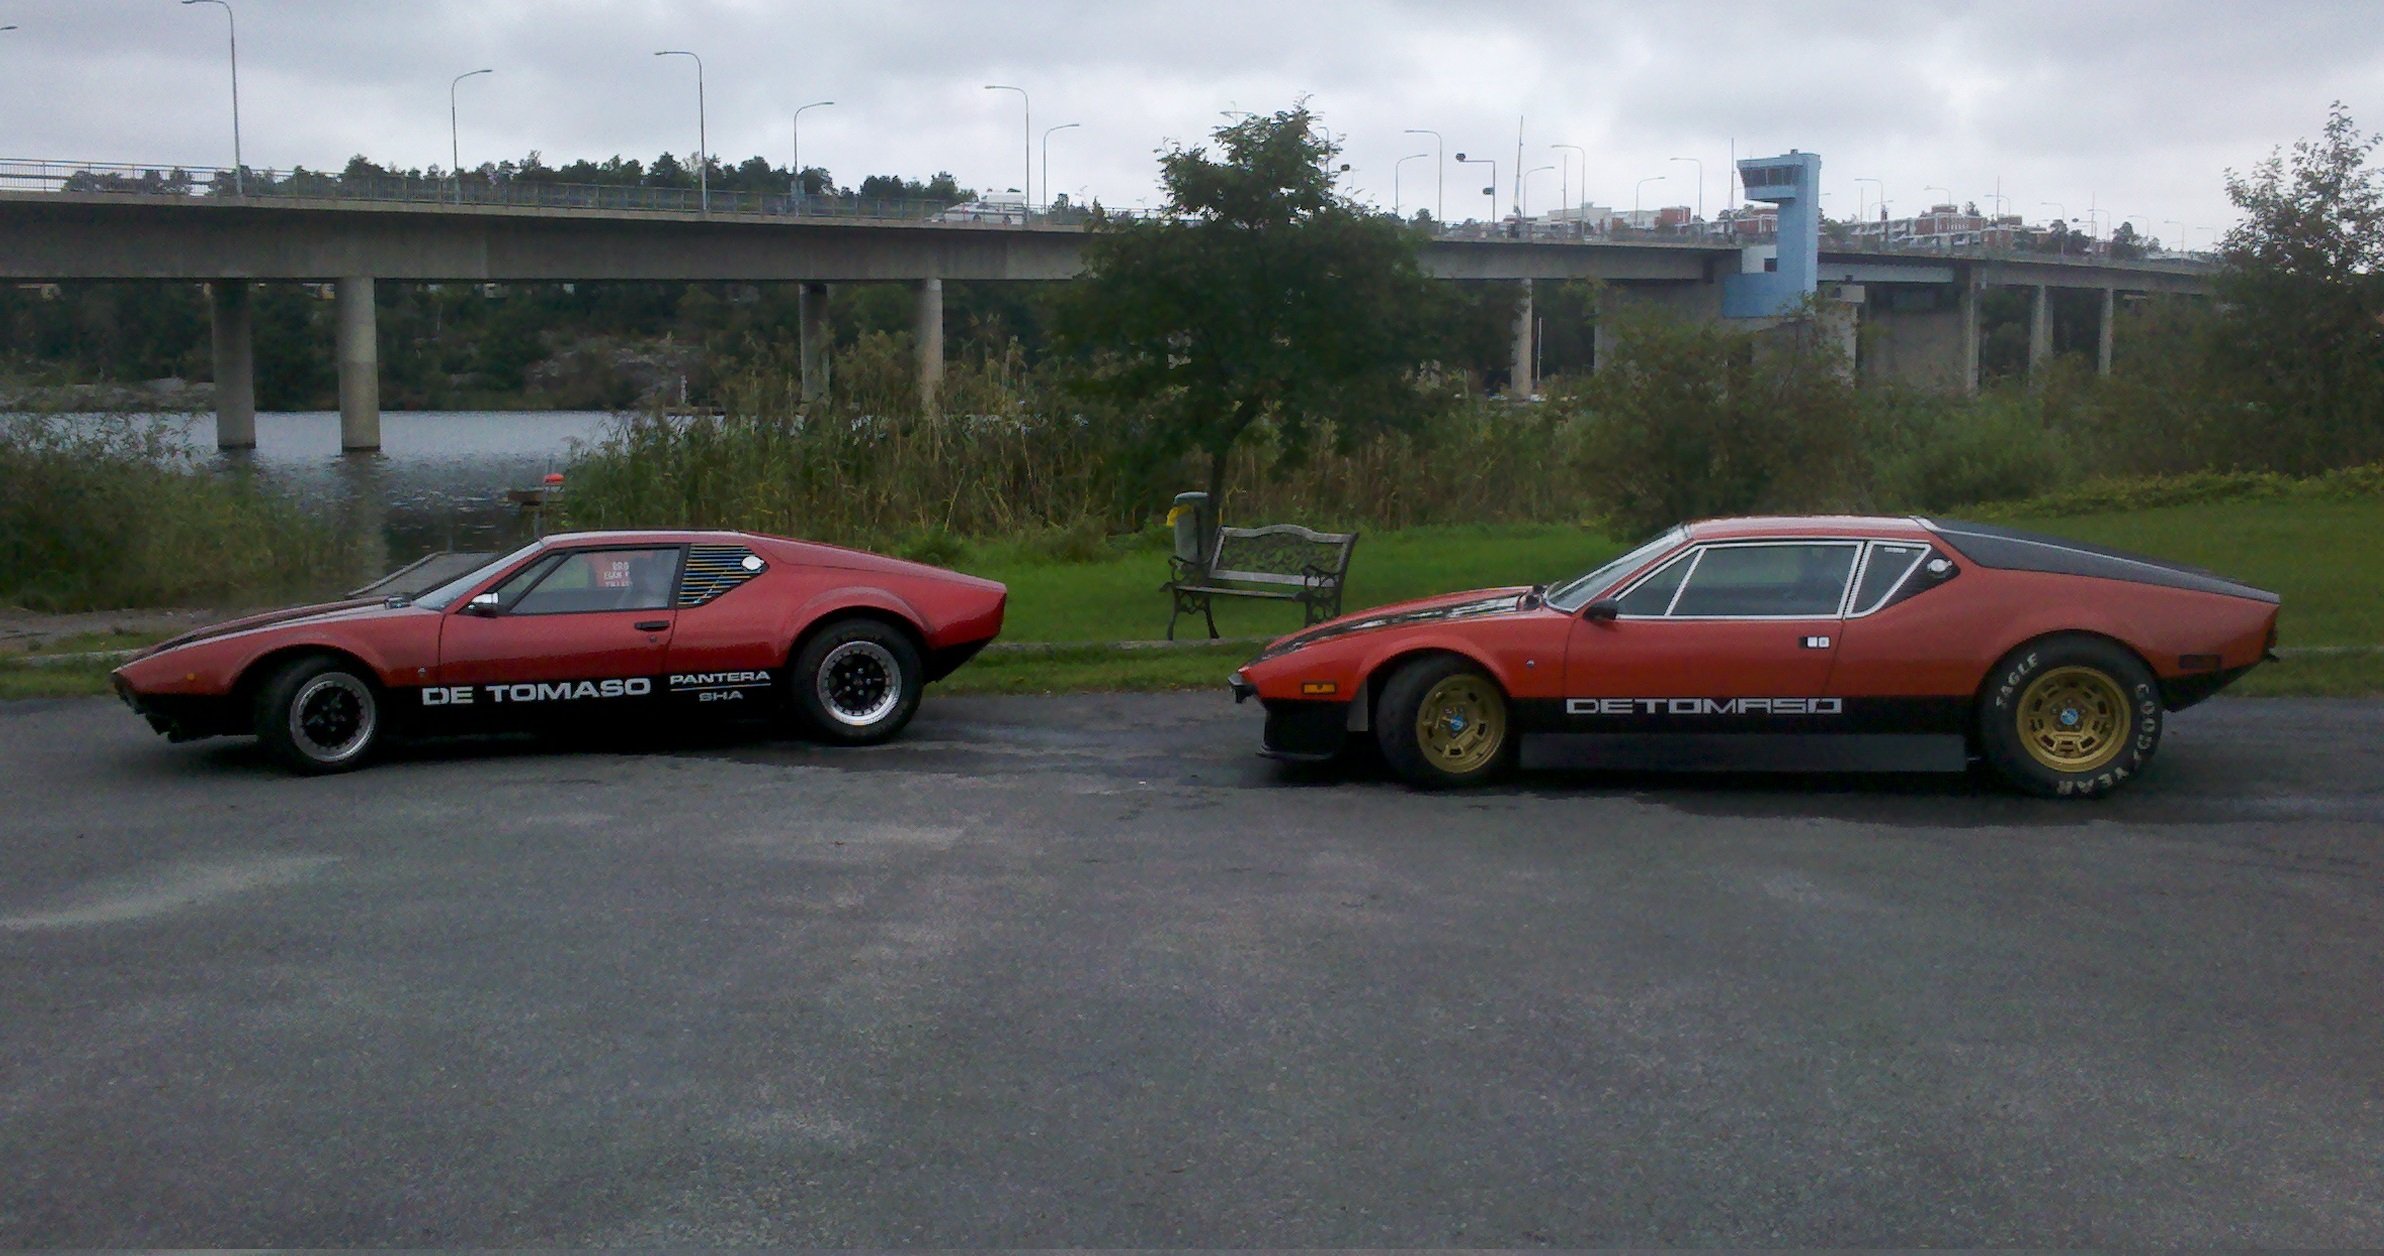
It is a "Replica" of a De Tomaso Pantera but since I am not building it with similar specs as a Pantera, I call it my interpretation of a Pantera.
It is a long drawn out project that started as early as 2011...when I bought a finished De Tomaso Pantera replica.
The first year a lot happened in the project, but then things went slow (Purchase of a house, three children and relocation of garage etc.) until last winter when it gained momentum again.
The reason for the purchase of the replica Pantera was as they say "Two Fold"
1. The engine we were planning to put in the original Pantera just didn't fit. The only way to get the new powertrain to fit would be to modify the car so much it would lose its original value and that was not acceptable. So a new car had to be found.
2. Having a project car that had no real original value, ie free hands to do what you want.
So I found the De Tomaso Replica for sale just a few blocks from where my parents lives so I bought it =)
It is a very well built car and hard to distinguish from a real pantera but it is built in a completely different way. A pantera is built using a steel body on a steel monocoque made up of many steel sheets folded and welded together. This replica has a glass fiber body glued to a steel tube space frame chassis.
About this project
Beginning of the Project
The first season
The new Powertrain
The new Clutch
Modifying the Transmission I
Modifying the Transmission II
Modifying the Transmission III
Finished Transmission
Powertrain Assembled
Making the Powertrain fit

")

The slots will also hold the nuts in place so I only need to use one tool to tighten them.
")
Halfshaft Connection
The car had when I bought it very nice halfshafts with CV-joints and luckily they have the same bolt pattern as the Porsche output shafts. The Porsche transmission is unfortunatelly 30mm narrover then the audi unit. So two halfshft spacers had to be fabricated. So a 20mm thick alu plate was bought from a collegue of mine and work began machining them.


Mount Release bearing
Started with a aluminum plate of alloy 6082-T6, a alloy with very good mechanical properies. However not as good as the 7075 alloy but 6082 has far superior corrosion resistance making it ideal for this application. Machined the centre hole, the two bolt paterns and even slots to hold the nuts in place and to be able to tighten the bolts with only one tool. Test mounted it with the Tilton release bearing in the transmission.
New Rims and tires
New rims and tires purchased for the car. Tire size are exactly the same as the Lamborghini Murcielago, this will help in getting the car approved by the Swedish transportation agency.


© Copyright 2019. All Rights Reserved.